Before you start
OpenCode is an open-source AI coding agent that runs in your terminal, in a desktop app, or in a browser. On Windows you will use the command line most of the time, so the guide uses PowerShell (press Win, type PowerShell, then open it).
You need three separate things, and it helps to keep them apart because they are billed differently:
| Thing | What it is | How it is billed |
|---|---|---|
| ChatGPT Plus / Pro | A monthly ChatGPT subscription | Flat monthly fee; used through Sign in with ChatGPT |
| DeepSeek API | Pay-as-you-go developer API | Prepaid credits on platform.deepseek.com |
| OpenAI API | Pay-as-you-go developer API | Usage on platform.openai.com |
1Install OpenCode on Windows
There are two reliable ways to install it on Windows. Method A (the standalone ZIP) is the simplest because it does not need Node.js. Method B uses npm if you already work with Node.
Method A — Standalone ZIP (recommended)
- Open the official download page: opencode.ai/docs and download the Windows build. For a normal Intel/AMD PC choose
opencode-windows-x64.zip. - Create a folder such as
C:\opencodeand extract the ZIP into it. You should see theopencode.exefile inside. - Add that folder to your PATH: open the Start menu, search Environment Variables, choose Edit the system environment variables, click Environment Variables, select
Path, click Edit, New, and typeC:\opencode. Click OK on every window. - Close the old PowerShell window and open a new one, then check the install:
opencode --versionIf you see a version number, OpenCode is installed. If you see “not recognized”, the PATH change has not applied to that window yet — open a fresh PowerShell.
Method B — Install with npm
If Node.js is already installed, open PowerShell and run:
npm install -g @opencode/cliThen confirm it works with opencode --version. You can also update later with npm install -g @opencode/cli@latest.
2Open a project folder
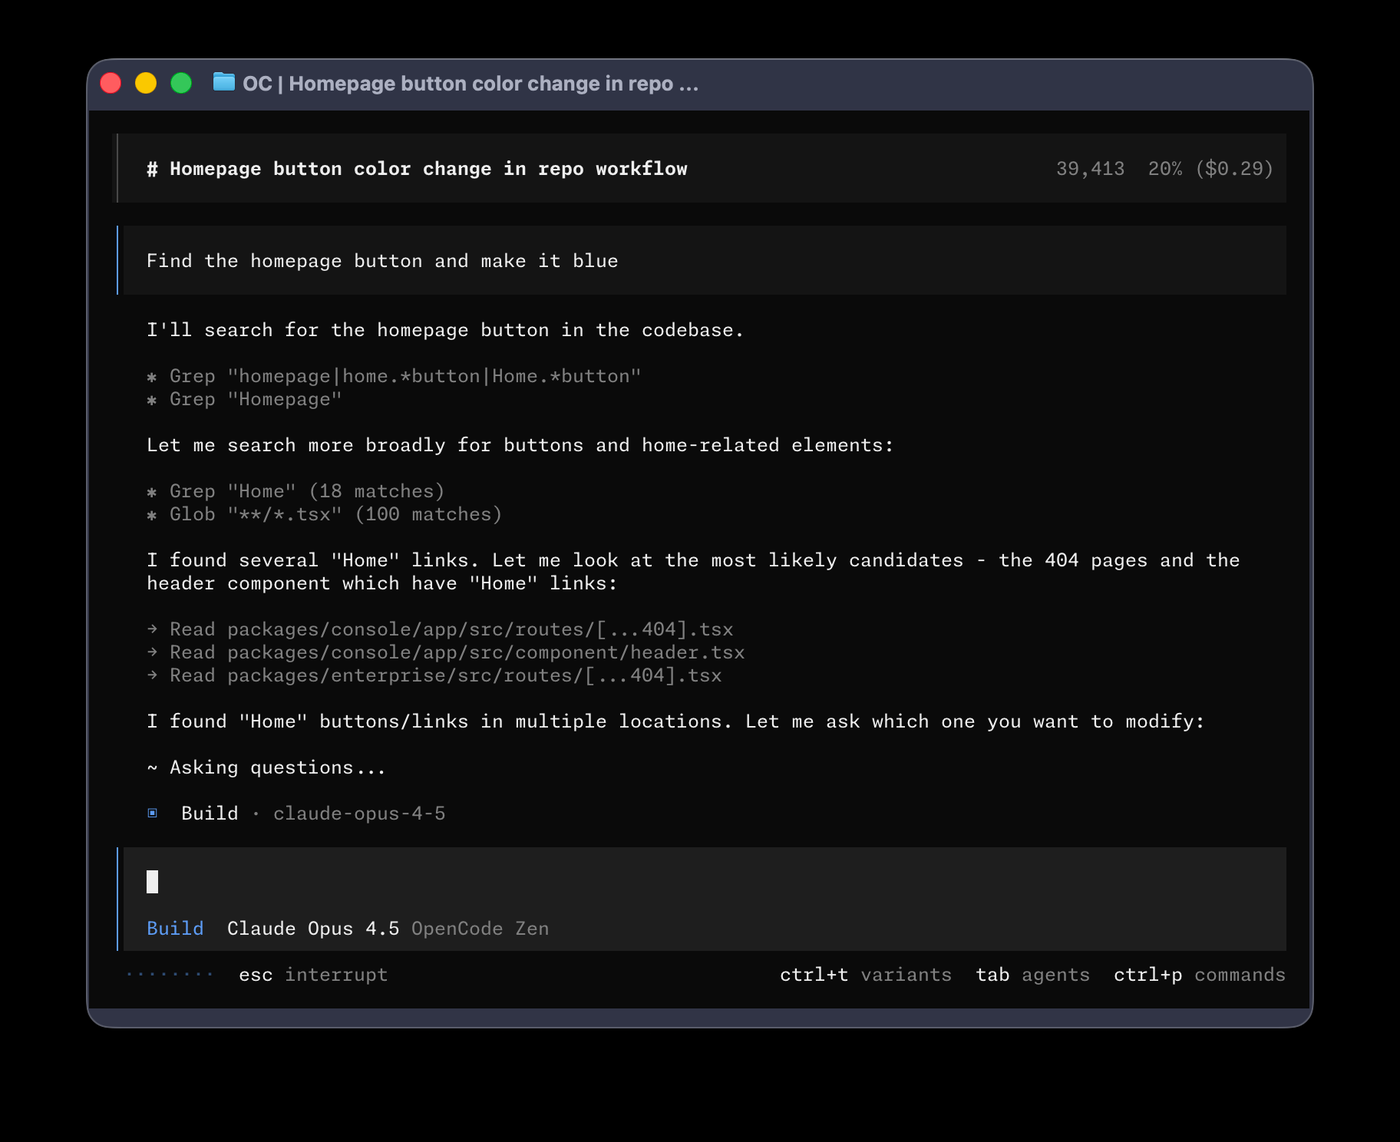
OpenCode works on a project directory: it can read and edit files there. Open PowerShell, go to the folder you want to work in, and start it.
cd C:\Users\YourName\Projects\my-app
opencode
You can also point it at a folder directly:
opencode C:\Users\YourName\Projects\my-appFor a quick one-off answer without the full-screen interface, use opencode run:
opencode run "Explain what this project does"Inside OpenCode, type /help to see the commands, and /connect when you are ready to add an AI provider.
3Connect your ChatGPT Plus plan
If you pay for ChatGPT Plus or Pro, you can use that plan inside OpenCode instead of buying API credit. OpenCode supports this through the OpenAI provider with Sign in with ChatGPT.
- Start OpenCode in a project folder (Step 2).
- Run
/connect. - Choose OpenAI.
- Choose Sign in with ChatGPT (you may also see legacy Codex sign-in options).
- A browser window opens. Sign in with the same account that has ChatGPT Plus / Pro and approve the connection.
- Return to OpenCode and run
/modelsto pick a model.
/connect
# Select: OpenAI
# Select: Sign in with ChatGPT

/models4Connect DeepSeek
DeepSeek uses an API key and prepaid credit. The DeepSeek chat website and the developer API are separate products, so a normal chat account does not automatically include API credit.
- Go to platform.deepseek.com and sign in.
- Open the API keys section and create a new key. Copy it immediately — it is usually shown only once.
- Make sure there is a positive balance in the billing section, otherwise requests return errors.
- In OpenCode, run
/connect, choose DeepSeek, and paste the key.
/connect
# Select: DeepSeek
# Paste your DeepSeek API keyopencode.json (see the config section below). The base URL is https://api.deepseek.com and the common model IDs are deepseek-chat and deepseek-reasoner.
5Connect the OpenAI API
Use this route when you have a developer API key from OpenAI and want pay-as-you-go billing. This is separate from ChatGPT Plus.
- Sign in at platform.openai.com/api-keys.
- Create a new secret key and copy it right away.
- Check Settings → Billing on the platform so the account has API credit or a payment method.
- In OpenCode, run
/connect, choose OpenAI, then choose the API key option and paste the key.
/connect
# Select: OpenAI
# Select: API key
# Paste your OpenAI API key6Pick a model
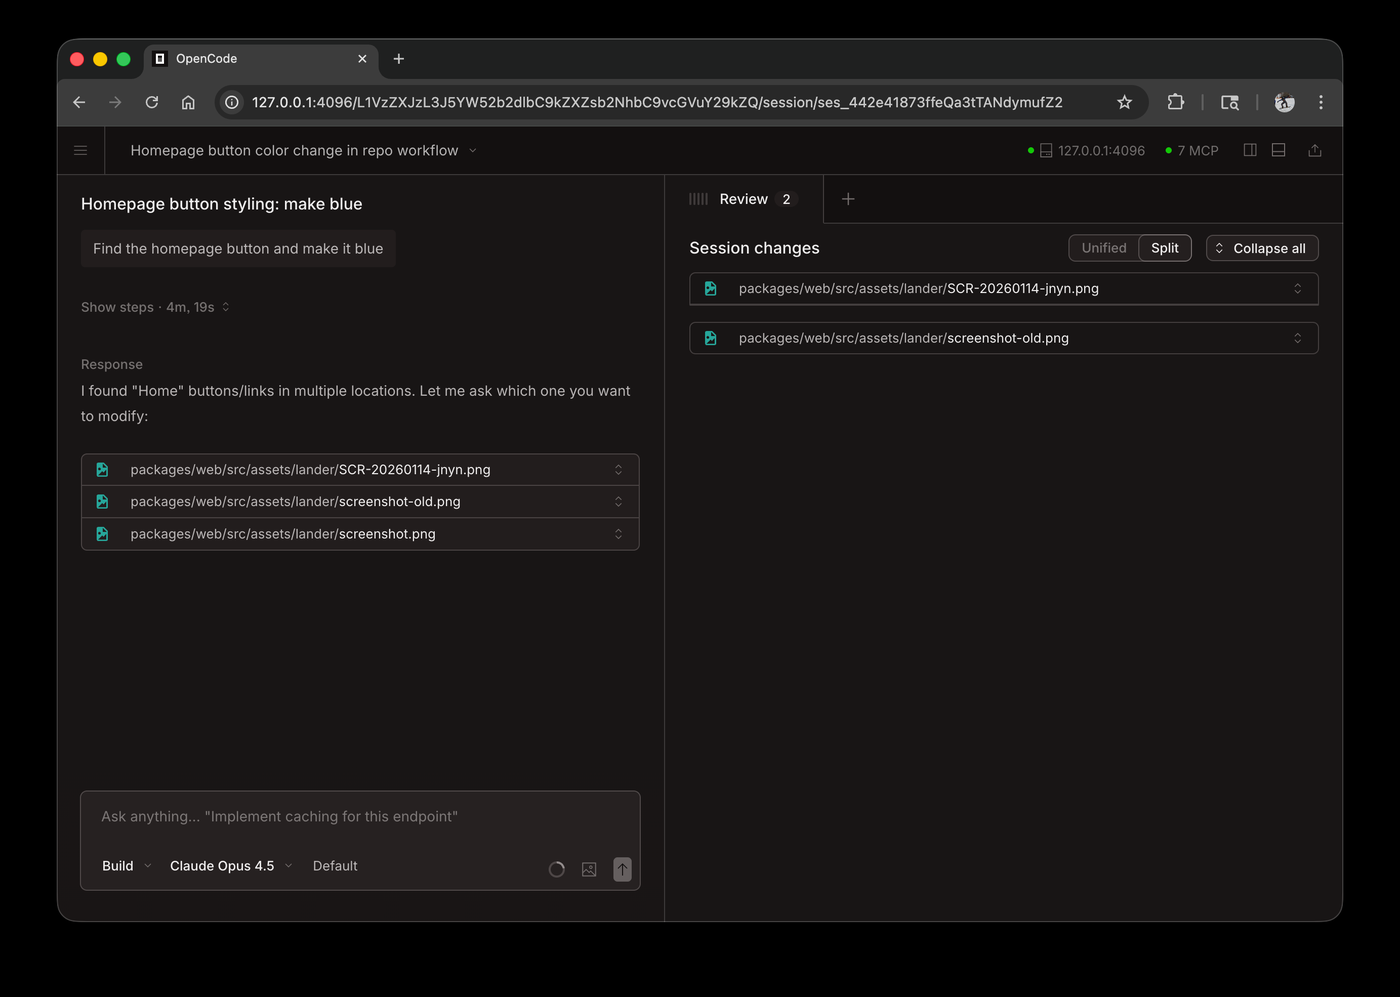
After connecting one or more accounts, run /models and choose the model you want. Models are referenced as provider/model, for example:
openai/…for OpenAI models (API key or ChatGPT sign-in)deepseek/deepseek-chatfor the standard DeepSeek chat modeldeepseek/deepseek-reasonerfor the reasoning model
You can make the choice permanent with the model field in your config file. If a model shows as unavailable, reconnect that provider and run /models again to refresh the list.
7Optional: set it up in a config file
Create an opencode.json (or opencode.jsonc) in your project folder for project settings, or at %USERPROFILE%\.config\opencode\opencode.json for global settings. Never put real keys in a file you might share or commit — reference environment variables instead.
{
  "$schema": "https://opencode.ai/config.json",
  "model": "deepseek/deepseek-chat",
  "providers": {
    "deepseek": {
      "env": ["DEEPSEEK_API_KEY"],
      "settings": {
        "baseURL": "https://api.deepseek.com"
      },
      "models": {
        "deepseek-chat": {},
        "deepseek-reasoner": {}
      }
    }
  }
}
Then set the key for your PowerShell session (or add it permanently through the Windows environment variables editor):
$env:DEEPSEEK_API_KEY = "your-key-here"For OpenAI you can use OPENAI_API_KEY the same way. Storing keys in environment variables keeps them out of your project files.
Security, privacy and cost
- Treat API keys like money. Anyone who has a key can spend on your account. Do not paste keys into screenshots, chats, GitHub, or tutorial pages.
- Rotate a key immediately if it leaks, then update it in OpenCode.
- OpenCode can read, write and run commands in the folder you open. Review what you ask it to do, especially before running shell commands.
- Watch the billing page for DeepSeek and OpenAI while you test, so an accidental large request does not surprise you.
- ChatGPT Plus usage counts against your plan limits, not an API balance.
Troubleshooting
PowerShell says “opencode is not recognized”
opencode.exe is not on your PATH, or the old terminal still has the old PATH. Re-check Step 1, then close and reopen PowerShell.Sign in with ChatGPT keeps opening a browser but never finishes
DeepSeek returns an authorisation or balance error
A model says “unavailable”
/models to refresh. Check that the model ID matches the provider (for example deepseek/deepseek-chat).Can I use ChatGPT Plus and the OpenAI API together?
Official links
- OpenCode documentation — opencode.ai/docs
- OpenCode providers — opencode.ai/docs/providers
- DeepSeek platform — platform.deepseek.com
- OpenAI API keys — platform.openai.com/api-keys
This page is a guide, not official OpenCode documentation. Features and menus can change between versions; when in doubt, follow the official documentation linked above.